| Step by step Porting guide and pics 429/460 Same port start to finish Each step flow tested |
| pg 2 |
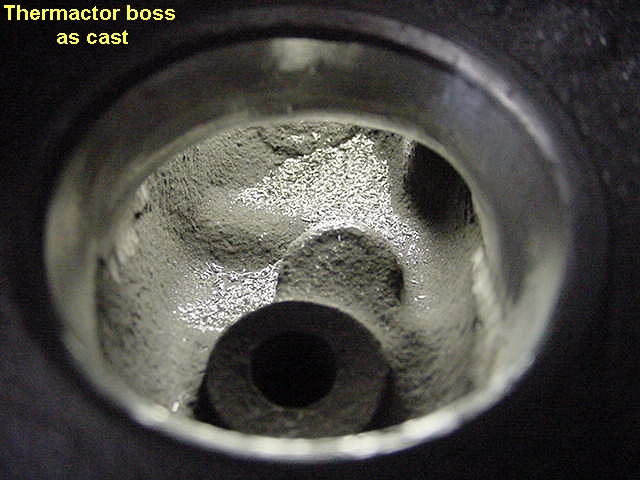
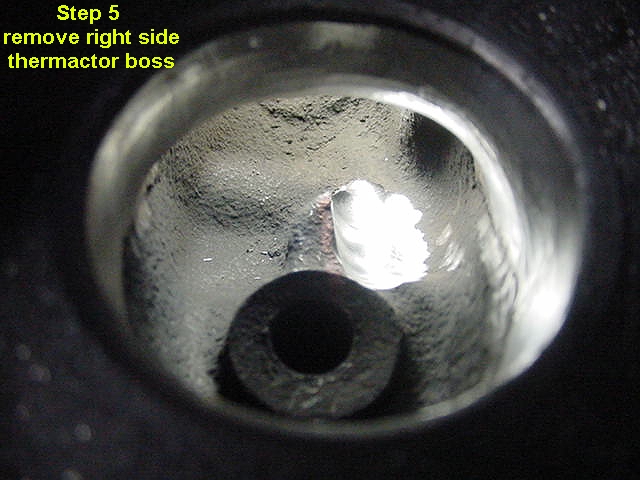

| Step 5: Lay back thermactor boss from right to left. Leave a vane to direct flow to exit. Bear in mind exit angle of port and shape vane accordingly toward exit. |
| Flow figures at 28" water corrected .1" .2" .3" .4" .5" .6" 61 107 136 152 159 162 |
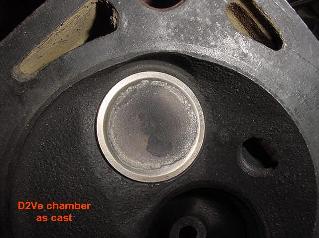
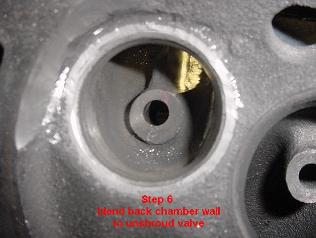
| Step 6: unshroud valve lay back chamber wall to head gasket sealing wire. Concentrate on the area already plunged cut and cut back chamber wall vertically. |
| Flow figures at 28" water corrected .1" .2" .3" .4" .5" .6" 50 96 131 150 159 162 |
| This operation hurt low lift flow somewhat. |
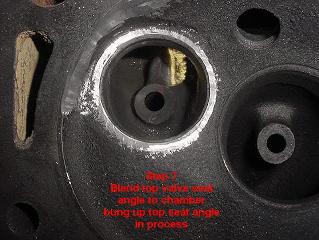
| Step 7: Blend top valve seat angle to chamber Bung up top seat angle |
| Flow figures at 28" water corrected .1" .2" .3" .4" .5" .6" 50 95 126 147 158 162 |
| This operation again hurt low lift flow somewhat. |