| Porting guide 429/460 pictorial |
| pg-7 |
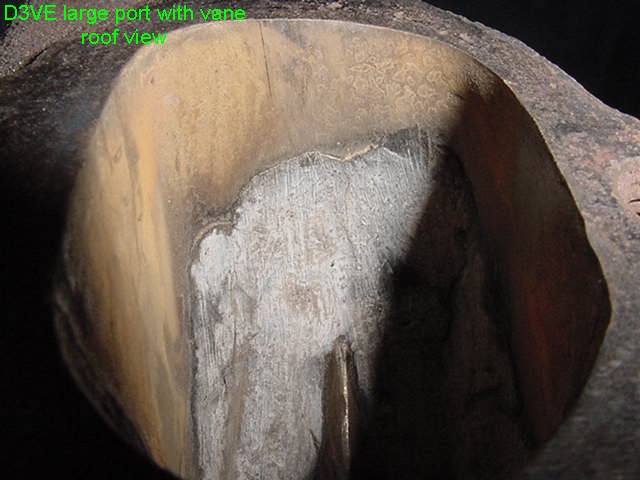
| This is another view of the same semi-finished vane |
| This is a pic of a finished vane in relation to the port roof. |
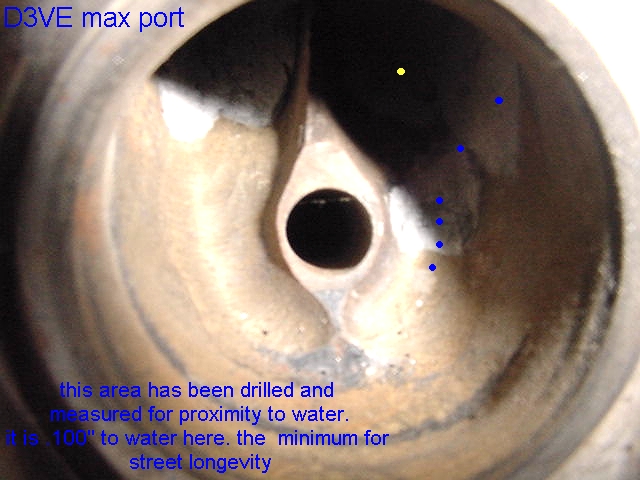
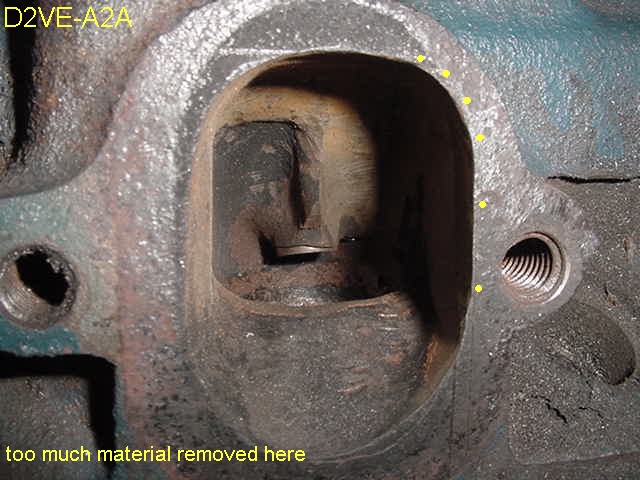
| Work ceased on this port when it became clear that the noted area was too wide and squared off for good header flange match |
| Note again the left side roof height. ei blue diamond. You CAN NOT lay back the right side to match. Roof will be too thin |

| The epoxy was used on the port roof to fill holes drilled to check for distance to water. I also contoured the roof for better roof thickness and final shape. This port was a design excersize for flow testing only! ei I hogged out the roof. |
| This pic shows the guide contour I feel works well with this port architecture. The vane helps to direct flow around the guide to the long turn radius. Notice the gradual slope from back side of guide, around the guide and on to the roof / longside radius. The area denoted by the #2 is the thinnest. You can safely remove about 1/16" to 3/32" referenced from the top of the as cast guide. This is the area where the bowl transitions to the longside / wall radius. ei the corner or line between port roof and right wall which will be radiused later is what I'm referring to. |
| 2 |


| Step 5 |
| Begin to contour valve guide boss |


| Remamber the stock exit port style, read the most up to date information in the stock exit link on the BBFindex 12-02 |