| step by step porting guide and pics 429/460 Same port start to finish. Each step flow tested |
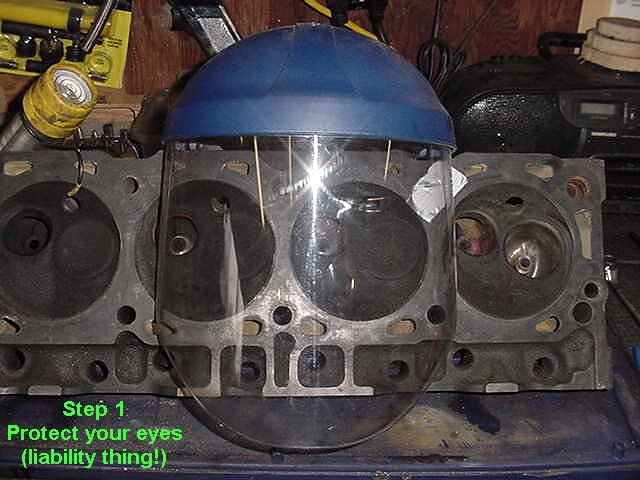
| Step 1: PROTECT YOUR EYES !!! |
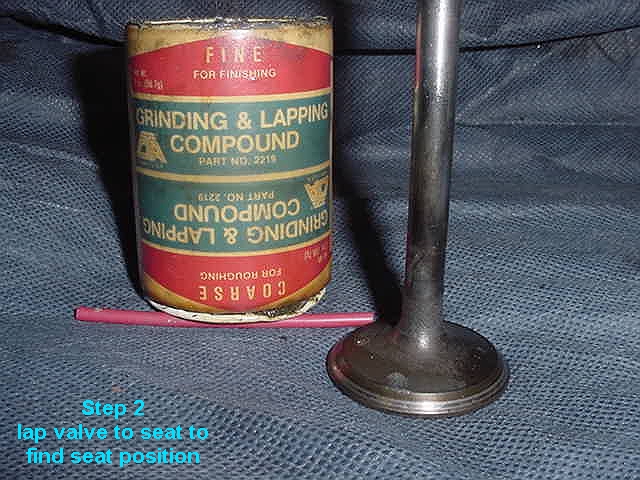
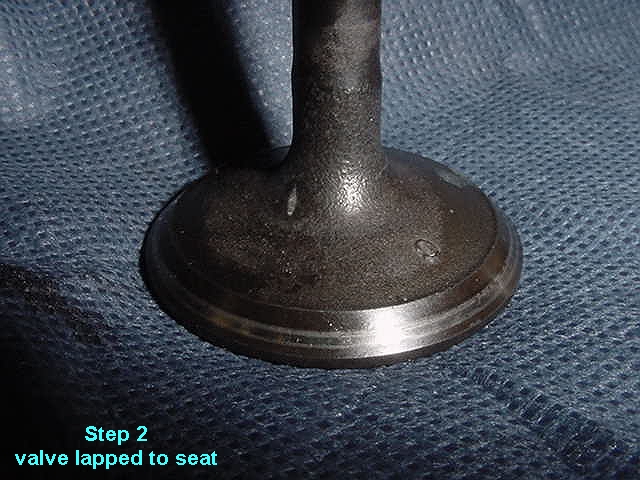
| Step 2: Establish seat position on seat using old valve and lapping compound |
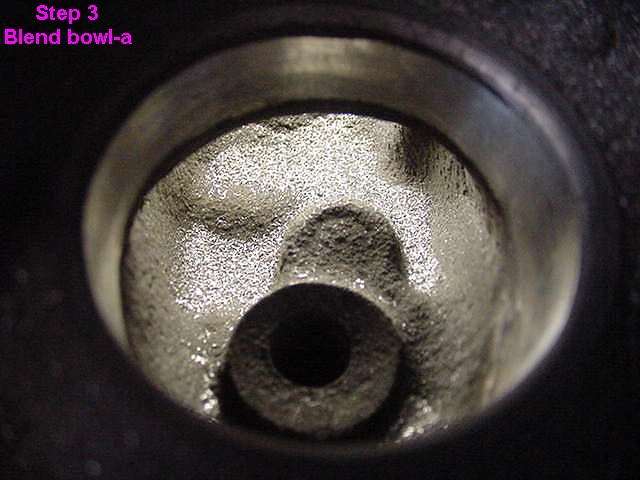
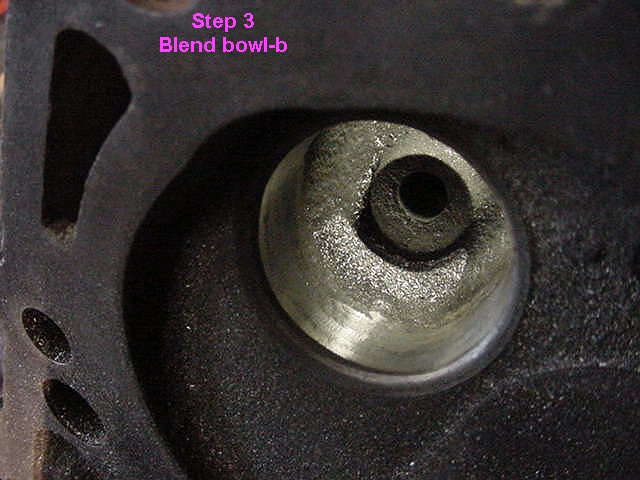
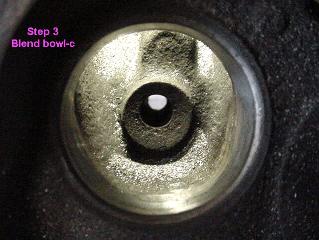
| Step 3: Blend bowl |
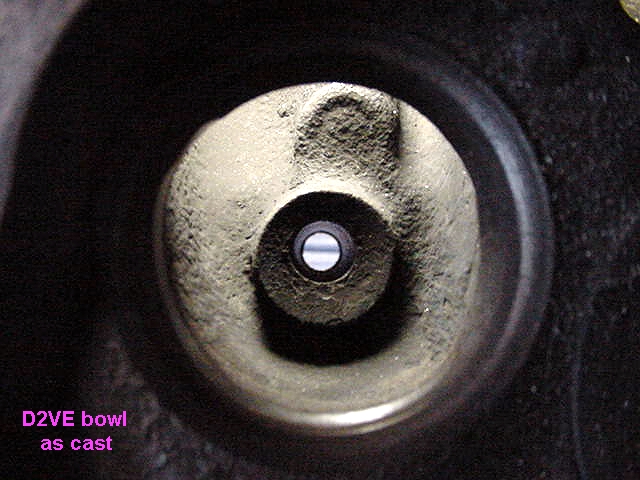
| As cast port flow: 139 cfm at .500" lift 28" water corrected |
| Flow figures at 28" water corrected .1 .2 .3 .4 .5 .6 56 101 128 143 149 152 |
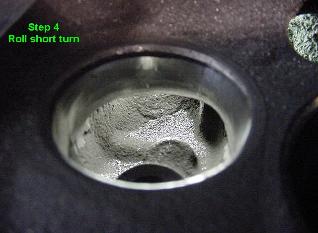
| Step 4: Roll short turn to existing crest Don't lower crest yet Note also that the D0VE short turn crest is too low to begin with. Do not lower it further!!! |
| Flow figures at 28" water corrected .1 .2 .3 .4 .5 .6 58 103 131 145 152 155 |
| Home |
| 1 |
| There are minor porting differences between the early D0VE-C castings and prior vs. the D3VE-AA castings. The differences lie primarily with the height of the short turn crest and the distance from valve seat to the beginning of the short turn roll. These differences are subtle and will be noted when necessary. When all is said and done they all flow about the same after porting. This style of port is known as the open passage because all bumps are removed. Later research has shown that removal of the thermactor roof bump and the exhaust bolt hole bump is not necessary. See the stock exit information link for further information on why and how. |